Table of Contents
Phase 1: Preparation & Discovery
Step 1: Initial Buyer Consultation
Step 2: Building the Property Search
Phase 2: From Offer to Completion
Step 5: Dealing with Subject Conditions
Getting Started: Compliance and Client Engagement
Before you begin working with any client, regulatory compliance is critical. Under BCFSA requirements, two forms must be presented at the outset:
-
Disclosure of Representation in Trading Services (DORTS)
-
Privacy Notice and Consent (PNC)
By doing so, you create clarity about your professional role, agency and establish transparency around data use. Provide these forms before you discuss confidential information such as price, finances, or bargaining position.
Note: These forms are not required if you’re only discussing publicly available listing information—such as square footage, asking price, or lot size—without any personal details.
Phase 1: Preparation & Discovery
Step 1: Initial Buyer Consultation
The initial buyer consultation sets the foundation for the entire transaction. This is where trust is built, expectations are established, and uncertainty is reduced. Buyers are often navigating a high-stakes decision influenced by emotion, financial risk, and incomplete information. Your role is to provide structure, clarity, and confidence so they can move forward with informed decision-making.
Real estate decisions typically progress through four psychological stages. Understanding these stages allows you to guide clients effectively and recognize where they may need additional education or reassurance.
The Four Stages of the Buyer Journey
-
Curiosity (6+ Months): At this stage, the buyer is exploring the idea of purchasing and gathering general information about the market, affordability, and the buying process. They have not yet investigated financing in detail and typically do not know which neighbourhood or property type they want.
Most new buyer relationships begin at this stage, making it a critical opportunity to educate, build trust, and position yourself as a long-term resource.
-
Interest (3 - 6 Months): The buyer begins narrowing their focus and asking more specific questions about neighbourhoods, pricing, and property types. While they may have a rough budget in mind, they often lack a clear understanding of what they can realistically afford.
Some clients will approach you during this phase, often seeking guidance to help refine their options and next steps.
-
Desire (1 - 3 Months): At this point, the buyer has a clearer vision of what they want and is emotionally invested in the outcome. They are often pre-qualified and have a general understanding of their purchasing power, but may experience hesitation or fear of making the wrong decision.
As buyers move into this stage, they are less likely to seek out a new agent, as many are already working with someone. This underscores the importance of engaging and nurturing clients early in the buyer journey.
-
Commitment (<1 Month): The buyer is ready to act. They have a solid understanding of their financial position, clearly defined criteria, and confidence in what they are looking for. At this stage, they are prepared to write offers, negotiate terms, and move forward decisively toward purchasing their home.
It is rare to encounter a buyer in this stage without prior communication. It's sort of like finding a needle in a haystack!
A strong buyer consultation should address the practical and emotional aspects of the purchase, as well as, qualify which stage the buyer is in.
Key Areas to Cover
-
Financing readiness, including mortgage pre-approval status and comfort with monthly payments
-
Desired property type, location, and lifestyle considerations
-
Non-negotiables versus preferences to create clear decision filters
-
Timeline, motivation to move, and any external pressures influencing the decision
-
Expectations around communication, updates, and availability
Throughout the consultation, normalize uncertainty and explain that hesitation and second-guessing are common at various stages of the process. Reassure buyers that decisions will be guided by agreed-upon criteria, market facts, and a clear evaluation framework.
At the conclusion of the meeting, provide clients with something of tangible value to reinforce clarity and momentum. A customizable buyer’s package that includes a process overview, market statistics, sample contracts, and a step-by-step checklist helps position you as a trusted advisor and keeps your name top of mind as they move confidently into the home-buying process.
Step 2: Building the Property Search
Auto-Email:
After this initial consultation, you should have a clear understanding of your buyer’s wants, needs, and deal breakers. Your next step is to create an auto-email based on their property criteria. Auto-emails are created through your Matrix login and can be fully customized to align with your client’s specific preferences.
When properly set up, auto-emails provide your clients with access to the OneHome portal, where they can explore additional properties that may fit their criteria. They will also receive regular updates as new listings that match their search come to market or when existing listings meeting their criteria experience price reductions.
Tip: Maintain consistent, proactive communication with your clients throughout this stage. A brief call, text, or email to check-in can significantly reinforce their confidence and sense of support as they move forward with you.
If you are not in regular contact, you increase the risk that they will turn to another agent or hesitate to book showings altogether. Communication is a core professional responsibility and should be prioritized at every stage of the client journey.
Step 3: Showing Properties
Before the Showing:
Showing properties can be one of the most rewarding stages of the buyer journey (and one of the most challenging). The experience depends heavily on market conditions, but also on how accurately you have identified your clients’ wants, needs, and deal breakers in earlier stages. Before confirming showings, carefully review each property your client wishes to view to ensure it aligns with their criteria.
There are several key areas buyers may overlook:
-
If the property is strata, confirm that the bylaws align with your clients’ lifestyle and expectations. Many strata corporations have restrictions on pets, parking, short-term rentals, and more. Review these documents in advance to confirm suitability. Few situations are more discouraging than having a client fall in love with a home, only to learn afterward that the bylaws make it unworkable.
-
School catchment areas can also be a critical factor. If your clients are committed to having their children attend a specific school, you should prioritize properties located within that catchment and verify boundaries rather than relying on assumptions.
-
Other potential deal breakers may include neighbourhood safety, zoning restrictions, accessibility concerns, nearby or upcoming developments, environmental factors, and any issues that may not be immediately visible from the listing itself.
Tip: Thorough due diligence before booking and conducting showings can save significant time, reduce stress, and help protect your clients from unnecessary disappointment during what is already an emotionally charged process.
Booking Showings:
Showings are booked through Supra One (BrokerBay). Once you know which properties your client is interested in, the process is straightforward. Locate the property in Matrix and select “Book a Showing.” This will open the BrokerBay listing, where you can choose your preferred date and time.
At this stage, consider the following best practices:
-
Ask your clients for a flexible block of time in which they are available to view properties. This reduces unnecessary back-and-forth and helps secure confirmations more quickly.
-
Plan all the listings you intend to show in advance. This allows you to map an efficient route and respect your client’s time.
Preparing for Showings:
Once your showings are booked, you'll want to prepare yourself to show the property in its best light and minimize mistakes. One of the most important items is to ensure you have proper access to the property. This should include the following:
- Ensure you know the placement of the lockbox (this may involve speaking with the listing agent if access instructions are not readily available)
- Ensure your Supra eKey app is updated prior to leaving.
It is also important to be prepared for the showing itself. You should ensure you have the following:
- Research each property before the showing. Ensure you know the property features, local amenities, and neighbourhood statistics.
- Provide your clients with materials related to the listing, either virtually or physically. This may include compiling the listing data sheets and providing them to your clients via email, or printing out copies to give out at each listing.
- Ensure you bring your business cards. It is good practice to leave them behind at each listing to show the homeowner that you visited and it is a small courtesy that lets the homeowner know you respect their time.
Tip: Write a short thank you on the back of your card to let the homeowner and agent know you appreciate their time.
During the Showing:
During the showing you should be focused on ensuring your client has a good idea of what it might be like to live in the home. You don't need to sell it as the best thing since sliced bread, but it is important to show the home in its best possible light. Help your client imagine what it might be like to live here. Some common tips are:
-
Park across the street to leave the best space for your client.
-
Guide the tour without pressuring. Allow clients to explore naturally.
- Observe body language to assess interest levels.
Tip: Some common questions you can ask your client are: (1) “How does this home compare to the best one we’ve seen so far?” (2) “Can you realistically picture living here day to day?” (3) “What, if anything, would stop you from making an offer on this home?”
After the Showing:
Clients may hesitate even when they like a property. The most common objections are:
-
Price – Is it worth the asking figure?
-
Condition – Does it require too much work?
-
Financing – Will their mortgage be approved?
-
Timing – Is this the right moment to move forward?
Your role is to provide clarity by pulling comparables, explaining market context, and using conditions such as inspections or financing to manage risk. Be transparent about how conditions and timing can affect offer strength.
Note: After your showings, please take a moment to leave feedback with the listing agent.
Even if the home isn’t the right fit for your buyer, feedback is still very helpful. Homeowners don’t get to hear what buyers think unless agents share it. Your comments can help them understand pricing, condition, layout, or features that may be affecting interest.
Providing feedback is also a professional courtesy. Sellers have taken time to prepare their home and step out for showings, and thoughtful feedback helps them move closer to their goal of selling.
Phase 2: From Offer to Completion
Step 4: Making an Offer
When it’s time to write an offer, precision matters. Contracts are legally binding and can carry lifelong consequences for your clients, so thoroughness is non-negotiable.
Discuss in detail:
Price – A central point of any offer and often the first element a seller will consider. Sometimes properties are intentionally priced below market to spark competition, while others can be priced high in the hopes of negotiating down. When crafting your offer price, you should rely on comparables in the market area and your own expertise to justify the offer price.
Deposit – The size of the deposit can influence how seriously a seller views the offer. Larger deposits demonstrate financial strength and commitment to completing the deal, while smaller deposits may cause concern, particularly in competitive markets.
Conditions – Conditions are clauses that must be satisfied before the deal is firm. While they often protect buyers (not always), they can also make offers less attractive to sellers.
To learn more about Contracts & Conditions, view this article
Caution: Too many conditions—or overly long condition deadlines—can weaken your client’s offer. Sellers prefer fewer obstacles. Advise your clients to use only the conditions that are essential to their situation.
Inclusions/Exclusions – Misunderstandings about what remains with the property are very common. In general, fixtures—items physically attached to the home, such as built-ins or light fixtures—are included in the sale, while chattels—movable items like most furniture—are not. If there is any uncertainty, review the MLS listing carefully and confirm details with the listing agent before drafting your offer.
Tip: Walk the property with the buyer and document what they consider essential. Confirm these items with the seller in writing, even if they appear fixed, to avoid later disappointment.
Closing/Possession Dates – Closing and possession dates are often underestimated in importance, but they can be pivotal in negotiations. The seller may need time to find their next home, or they may prefer a quick close to free up capital. Buyers, on the other hand, may have constraints related to rental agreements, job relocations, or school schedules.
Tip: Before submitting an offer, ask the listing agent about the seller’s preferred dates. If your buyer can accommodate, it may strengthen the offer.
Step 5: Dealing with Subject Conditions
If your client has submitted a conditional offer, it is essential to closely track the condition period and ensure every requirement is met within the specified deadlines. Failure to satisfy these contractual obligations may cause the transaction to collapse.
Best practices include:
(1) Check-in with your Client: Do not wait until the final day of the condition period to check in with your client. Confirm they understand which conditions are due, and the exact deadlines, as soon as the offer is accepted. Make sure they know how to satisfy each condition and what its implications are. Offer appropriate assistance and guidance, as outlined below.
(2) Provide multiple options: When recommending professional service providers, offer at least three qualified options. Do not accept referral fees or any form of compensation for these recommendations. Accepting compensation can be perceived as acting contrary to your fiduciary obligations and, if issues arise, may expose you to liability for appearing to prioritize personal gain over the client’s best interests. Even in jurisdictions where referral fees are allowed, the best practice is to decline them.
(3) Assist in coordinating times: You may be asked to help coordinate appointments between the service provider and the seller (for example, inspections, appraisals, or similar services). Your role is to arrange mutually acceptable times between the service provider and the seller. While obtaining the seller’s preferred times is helpful, the seller is obligated to cooperate with and reasonably accommodate the scheduled appointment.
(4) Provide all supporting documentation: You must ensure the buyer receives all documentation relevant to the transaction. This includes the accepted Contract of Purchase and Sale and all related documents. For strata properties, this typically includes bylaws, meeting minutes, Form B, and other pertinent records. Providing these materials is critical to satisfying financing conditions and enabling the buyer’s conveyancing lawyer or notary to complete their work.
Note: Conveyancing will submit all required documents to the lawyer or notary on your behalf. To support a smooth completion process, please ensure all documents are uploaded to Skyslope promptly.
Submitting Completed Conditions
Once your clients have confirmed that they are satisfied with their conditions, you must submit an addendum to the seller. This addendum is titled “CPS – Notice of Condition Waiver / Fulfillment.”
For strata properties, use the form titled “Strata CPS – Notice of Condition Waiver / Fulfillment.”
If all conditions do not fit on the Notice of Condition Waiver / Fulfillment form, indicate that there is an additional schedule titled “CPS – Notice of Condition Waiver / Fulfillment Schedule” and record the remaining condition fulfillments there. These documents must be delivered to the seller before the condition deadline.
All documents need to be submitted to conveyancing via SkySlope to be passed along to the lawyer / notary to ensure timely completion.
Note: In most cases, conditions benefit only one party and do not legally require the other party’s signature. However, it is best practice to obtain signatures on all documents related to the transaction. If obtaining a signature is not possible, written acknowledgement that the waiver has been received is sufficient.
Incomplete Subject Conditions:
If your buyer is unable to satisfy one or more conditions, speak with your Managing Broker immediately and ensure the seller is informed without delay. It is not acceptable to simply withhold the condition waiver form and allow the condition period to expire. As a matter of professionalism and courtesy, you are expected to notify the other party when conditions will not be fulfilled.
Unconditional Offers:
Unconditional offers do not include standard subject conditions and can be used as a strategic negotiation tool, particularly in multiple-offer situations. However, they remain subject to the buyer’s statutory rescission period, during which the buyer may rescind their offer within three business days and forfeit a small prescribed fee from their deposit.
It is essential that your client clearly understands the legal implications and obligations associated with submitting an unconditional offer. You should strongly recommend that they consult with a legal professional to fully understand the associated risks.
The primary risk is that if defects or material issues are discovered after the offer is firm—and were not previously known to the buyer—they generally have no contractual recourse. In most cases, they will still be obligated to complete the purchase of the property.
Are you submitting an unconditional offer? It is good practice to discuss the process with your managing broker to ensure you are protected.
Step 6: Deposits
Once your offer is accepted and all subject conditions have been removed, the next critical step is submitting the deposit. This deposit forms part of the down payment and demonstrates your buyer's commitment to completing the purchase. It is held in trust by the buyer’s brokerage as a neutral stakeholder until completion.
The Contract of Purchase and Sale will state that the deposit is due at a specific date. This is determined in the offer writing process. Typically, this will be "within 48 hours of subject removal" or "upon subject removal".
Because these deadlines are firm contractual obligations, your role is to prepare your buyer well in advance and actively manage the process from start to finish.
(1) Diarize Key Dates and Communicate Proactively: As soon as the offer is accepted, confirm with your client the exact deposit amount and the exact date and time the deposit is due.
As a best practice, diarize the deposit deadline in your own calendar, communicate the deadline clearly to your buyer in writing (by email or text) so they can plan backwards, and check in a few days before subject removal and again immediately after subjects are removed to confirm they are ready to submit the funds.
Missing the deposit deadline can put the entire transaction at risk. Your consistent, proactive communication helps prevent last‑minute issues and demonstrates strong professional care.
(2) Clarify and Recommend the Deposit Method: There are several ways a buyer can submit funds to the brokerage’s trust account. These methods differ significantly in reliability and timing, so part of your advisory role is to explain the options and recommend the most appropriate method.
Common methods:
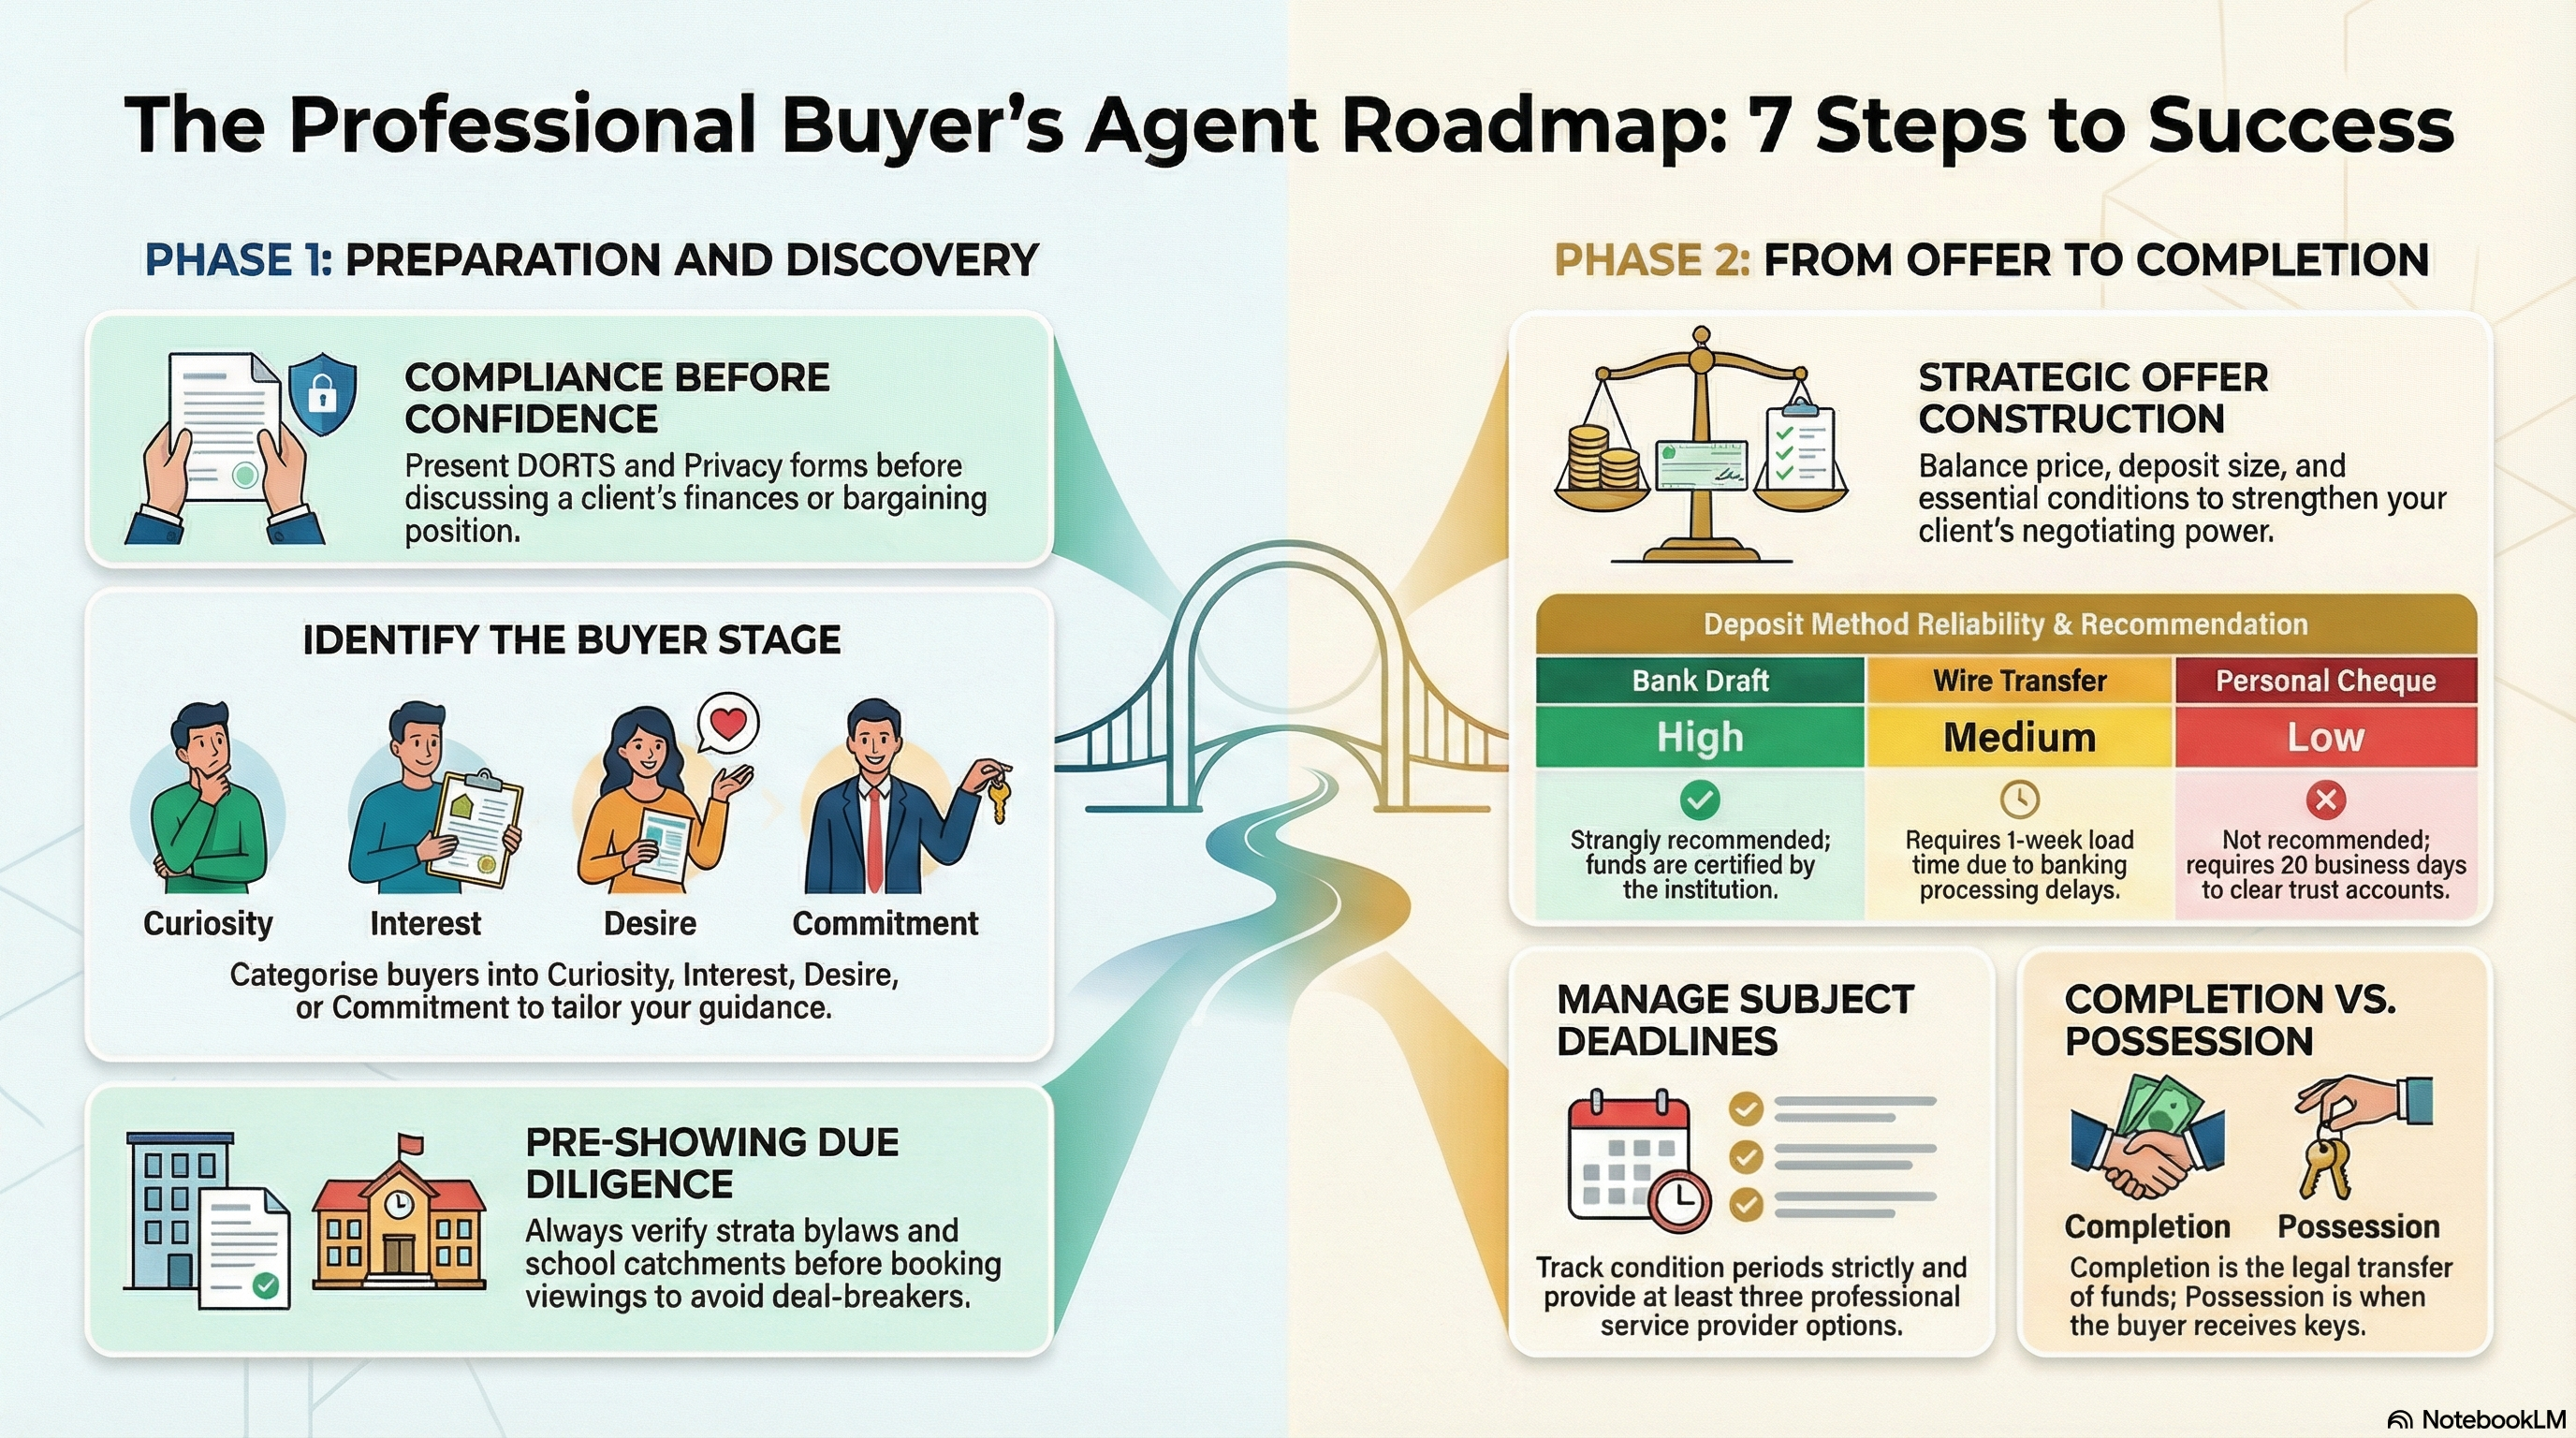
Bank Draft (Preferred Method): This is the most reliable and strongly recommended method because funds are certified by the buyer’s financial institution. Additionally, it is often the most convenient as buyers can: (1) Drop off the bank draft at designated Pemberton Holmes office locations or (2) deposit directly into the brokerage's trust account at a CIBC branch. Additionally, it is best for tight timelines or when certainty of delivery is essential.
Wire Transfer: This can be convenient but is less predictable. Banking cut-off times, weekends, and processing delays can prevent funds from arriving by the deadline. If your buyer chooses this route, advise them to: (1) Start the wire process at least one week before the deposit deadline. (2) Confirm with their bank how long the transfer will take and what information is required.
Personal Cheque: Generally not recommended for close deadlines. Personal cheques are not certified, and the brokerage must hold the funds for 20 business days to ensure they clear. If a personal cheque is used at all, it must be submitted well in advance of the contractual deadline.
Tip: When submitting deposits to Pemberton Holmes Ltd., please use this sheet to pass along deposit requirements to your buyers.
Step 7: Completion
As the transaction moves toward completion, it is important to understand the key dates outlined in the Contract of Purchase and Sale. These dates shape the final legal, financial, and practical steps of the process and must be treated as firm contractual obligations.
1) Completion Date: This is the day the purchase funds are transferred and the buyer is registered as the new owner at the Land Title Office. Once registration occurs, the transaction is legally complete and the seller becomes entitled to the sale proceeds. Although the seller’s lawyer is responsible for completing registration, agents should be familiar with the timing and significance of this milestone.
Tip: The lawyer will issue a notice of completion to the brokerage once registration occurs. If there is ever uncertainty, the office or the lawyer can confirm whether completion has taken place.
2) Adjustment Date: This date is used to fairly allocate ongoing and prepaid expenses between the buyer and seller. Items such as property taxes are adjusted so that each party pays only their share based on the agreed date. The seller remains responsible for expenses up to the adjustment date, with the buyer assuming responsibility thereafter. Other common adjustments may include tenant rents and security deposits, where applicable.
3) Possession Date: The possession date is the day the buyer receives vacant possession of the property. This is a fundamental term of the contract, and it is essential to confirm that the seller will be fully moved out by this date. Best practice is to stagger the possession date after completion to ensure funds have fully changed hands before keys are released.
Handing Over Keys:
In the days leading up to completion, the buyer’s agent should coordinate with the listing agent to arrange the transfer of keys. Once received, the keys are held on behalf of the buyer until possession. This moment provides an excellent opportunity to meet the client at the property, complete a final walk-through, and formally welcome them to their new home.
Client Care at Completion
Completion also marks a natural point to reinforce the client relationship and bring the transaction to a thoughtful close. Clients should feel confident that their interests were carefully managed from start to finish, and that their trust was well placed.
A brief note thanking the client for choosing Pemberton Holmes to help facilitate their transaction can go a long way in reinforcing that relationship. Whether through a handwritten card, a congratulatory message recognizing the milestone they have reached, or a small closing gift, these gestures help leave a positive and lasting impression and reflect the standard of care expected at the brokerage and of you, as their agent.
Additional Resources:
Customizable Buyer Package | Clause Library | Trust Account Info
Buyer Specific Checklists
Mortgage Documents | Single Family Purchase | Strata Purchase
Agent Specific Checklists
If you have any questions or need additional support, reach out to us anytime at service@phre.ca.